Let it Snow Make Your Own Snow Globes
Published 12:00 am Saturday, February 14, 2015
- Let it Snow Make Your Own Snow Globes
Even when it’s not frightful weather outside, it can still snow. Homemade snow globes are a fun family project with plenty of room for individual creativity.
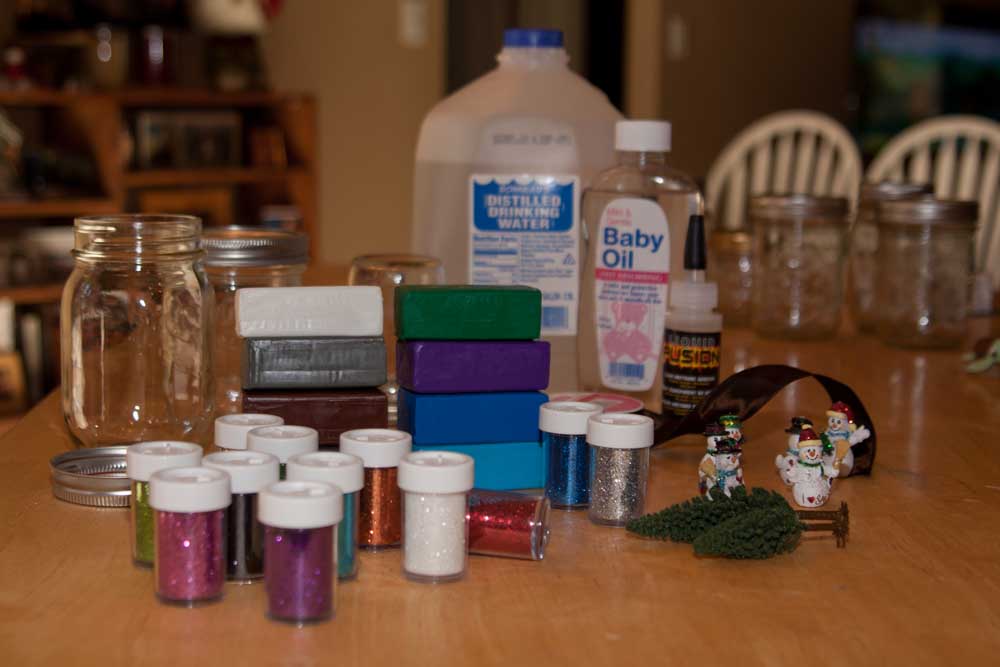
Choose Your Jars
While any jar with a lid will do, wide-mouth Mason Jars work better than those with narrow necks. Round jars have a more globe-like feel, and crystal clear glass with at least one smooth side — without any embossed lettering — is ideal.
Place and Glue
Your Figurines
These can be anything that fit inside the jar as long as they’re waterproof. Situate your characters or scene in the jar lid, which will be your globe’s base. Be sure to use a long-lasting, tight-bonding, waterproof adhesive. Clear drying Epoxy, Quick Grip, Modge Podge and Gorilla Glue are great options. Be prepared to let it dry for a full day, or skip the glue and use clay.
Mold With Clay
Polymer clay is waterproof and a great way to elevate your figurine or scene inside your globe, especially if your jar has a wide lip. Work your clay into a base inside the jar’s lid, being careful to keep it away from the edges so you’ll still be able to screw the lid on the jar. Most glues do not adhere well to clay, so the best way to secure your figurines is to actually stick them into the clay.
Add Glitter
Glitter comes in various sizes and colors, including bright white which is ideal for snow. Avoid anything labeled “fine” because it doesn’t sink, and explore alternatives such as small confetti or spangles. Not every “snow” globe has to be full of falling snow. The options are endless and make this a project that can be fun any time of year.
Add Water
Distilled water is ideal, or simply boil and cool your tap water. Stir the glitter around to determine if you have the amount you like. Adding glycerin or baby oil will thicken the liquid and cause the glitter to float longer, but it can affect the integrity of glue and the viscosity of clay. A capful of rubbing alcohol will keep your water clear and its contents mildew free. Leave enough room so that when you put the lid on with your figurine or scene attached the jar won’t overflow.
Put it All Together
Give your lid a hearty shake upside down before you put it into the jar of water to ensure everything is secure. Maneuver your figurines into the jar and seal the lid tightly. Then, turn over and watch it snow!


Best of the Best of Bend 2025

-
-
-