Jazz up terra cotta with fabric
Published 12:00 am Tuesday, April 28, 2015
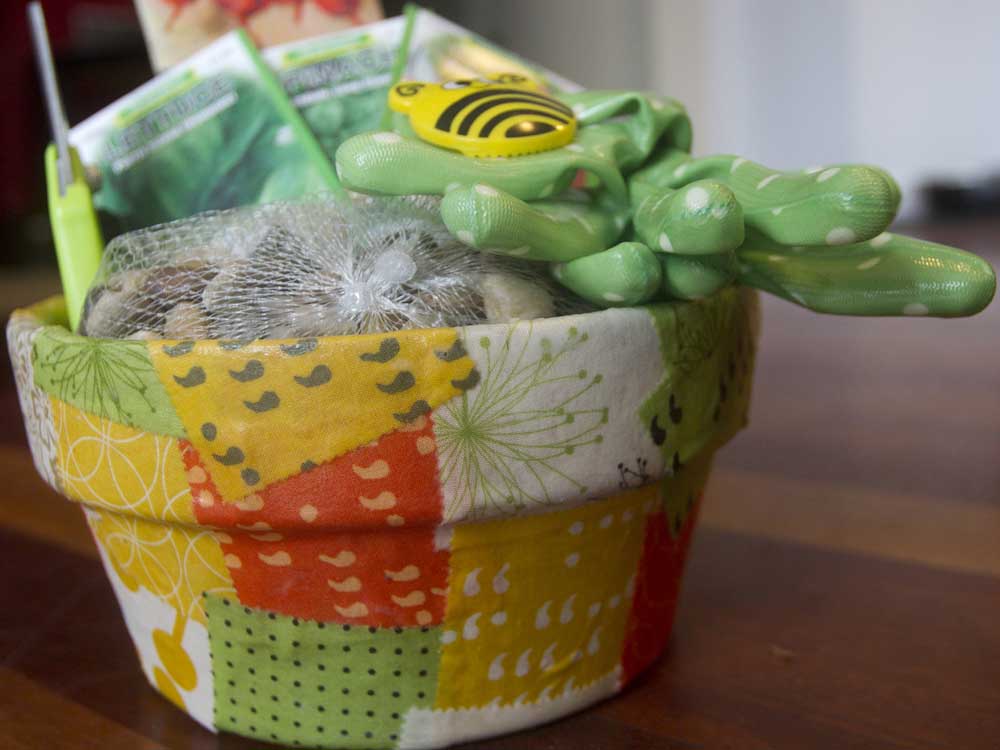
- Andy Tullis / The BulletinA fabric-covered terra cotta pot can make a great gift when filled with seeds, small garden tools and the like.
If you’re tired of staring at plain and ordinary terra cotta pots in your herb garden or cadre of houseplants, there’s a quick and easy way to jazz up those containers. Just raid your fabric scrap bag and go to town applying the tidbits to the pot exteriors. And don’t forget ribbons and trims for accents.
Decoupage finishes, such as Modge Podge, come in both gloss and matte finishes, so pick your pleasure for protecting the outside fabrics.
No fabric stash? Check your local quilt store for fabric pre-cuts — they come with decoratively cut edges and in coordinating color groupings.
Not only do the embellished pots add cheer to any sunny window, but they’re also a clever way to showcase a Mother’s Day present as well — fill them with some of mom’s favorite things, from seed and small garden tools to chocolates and nuts — making a gift within a gift.
What you’ll need:
• Terra cotta pot
• Assorted fabric scraps or one fabric large enough to cover the pot (Note: Very light colored or sheer fabrics will allow the pot color to show through.)
• Modge Podge, or other decoupage sealant
• Foam brush
• Scissors
• Paper for pattern making (optional)
Preparation
If you plan to actually use the pot as a planter, brush sealer inside the pot surface and allow to dry thoroughly. Repeat on the outer pot surface. This acts as a moisture barrier to prevent the fabric from mildewing.
Using scraps
1. To cover the pot in scrap fabrics, cut pieces in various sizes, trimming any loose threads along the cut edges.
2. Working in small sections at a time, coat the outer pot surface with sealant and press the fabric scraps in place, overlapping as desired. Apply additional sealant under any overlap areas. Smooth out any air bubbles.
3. In the same manner, cover the entire pot with fabrics, allowing a 1-inch extension at both the upper and lower edges.
4. Fold the upper edges to the pot inside and lower fabric edges to the pot bottom, clipping and trimming as needed to fit, and securing the edges in place with sealant.
5. Place the pot upside down and thoroughly coat with sealant. Allow to dry. Turn the pot over and coat the upper edge and inside fabric edges with sealant. Apply multiple coats if desired.
Using a single fabric
1. To cover with a single fabric, lay the pot on its side atop paper and trace the shape as you roll the pot around to the beginning point. Add 1 inch to the upper and lower edges and cut out the pattern.
2. Place the paper pattern on the fabric and cut out the shape.
3. Coat the pot sides with sealant, lay the pot on its side as you did previously and roll the fabric onto it, smoothing out any bubbles as you roll.
4. Overlap or abut the ends.
5. Turn the upper edges to the inside and lower fabric edges to the pot bottom, clipping and trimming as needed to fit and securing the edges in place with sealant.
6. Place the pot upside down and thoroughly coat with sealant. Allow to dry. Turn the pot over and coat the upper edge and inside fabric edges with sealant. Apply multiple coats if desired.
7. Add any ribbons or trims around the rim.
Be sure the drainage hole isn’t covered by fabric. If it is, clip away the excess to open the hole. After planting, place your pot masterpiece on a colorful saucer to protect the table surface.
— Reporter: gwisdesigns@aol.com


Best of the Best of Bend 2025

-
-
-