Garden projects made simple with a drill
Published 12:00 am Tuesday, May 10, 2016
- Thinkstock
There’s no limit to the garden projects one can create with access to a fully stocked shop of power tools. I drool over the tool drawers of friends from time to time and eye with envy the open garages of neighbors who have these well-rounded collections.
Unfortunately, my reality includes only a small toolbox and a cordless power drill. But I’ve refused to let that stop me from finding projects I can complete. From planters to garden art, trellises to porch swings, there are still numerous yard and garden ideas that can be brought to life with just a few supplies and a power drill.
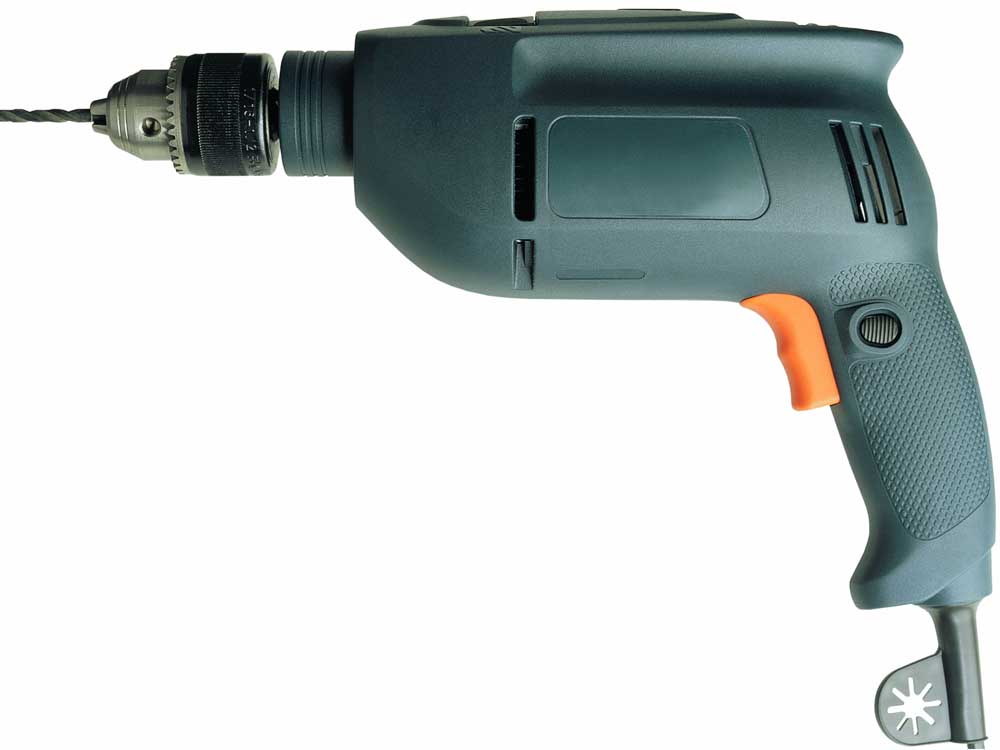
Extremely portable and particularly versatile, the cordless drill may be king of all small power tools, sold in many combinations of power, capabilities and accessories. Battery life, power and charging time depend on the type, while other capabilities determined by gears, torque (twisting power), speed (repetitions per minute) and attachments can vary widely from model to model. When purchasing a new drill, be sure to consider the ways you’ll want to use it before deciding on a standardized kit or choosing to piece specifics together by buying separately.
Bits and accessories are held in place by the “chuck” of the drill, the sleeve that can be tightened to hold the bit in ready position or loosened to change bits.
From flat-head and Phillips drivers to straight shanks or deep augers, in steel, titanium and even diamond-tipped, there’s a drill bit for every material from cement, masonry and tile to wood, plastic, glass and metal. For safety and effectiveness, it’s important to use the proper bit for each material.
Planting summer bulbs? Use an auger bit to drill into tough soil, leaving a hole to drop the bulb into. Mixing mortar or cement? Try a long-armed, spiral-shaped mixing attachment. In a bucket or wheelbarrow, small batches of any thick, hard-to-stir mixture will be no match for this attachment. Want to win a pumpkin-carving contest this fall? Your drill can create the precise patterns you want to impress with. Ideas such as these — as well as the others that follow — are easy to execute when you unleash your artistic inclinations along with your drill.
A trellis is another quick-to-complete project. Vines and other climbers such as peas or beans flourish when you give them support. For a hanging trellis, drill an equal number of holes in each of two pieces of wood, stringing twine vertically through the holes, tying knots above and below to hold in place. Braid or twist the excess twine at the top into a loop and knot it securely to hang from the fence above plants or a hook above patio planters. A wishbone trellis can be made by burying the stem of a large, v-shaped branch into the ground. Drill holes into the “v” and lace string or twine back and forth between the holes to create a framework to climb on.
Planters for the patio are a no-brainer when you use your drill to add drainage holes to any container. Plastic storage bins or garbage cans make for inexpensive options, while galvanized steel livestock watering containers can give an industrial look and create larger planters or raised “beds.” For dainty, decorative succulent planters, consider using teacups, vintage mixing or ceramic serving bowls. (Drilling glass and ceramic does requires special bits and additional care — see below).
Large plastic buckets are also easy to drill and make excellent strawberry planters or upside-down-tomato planters. For a strawberry planter, drill 2-inch holes on the sides of the bucket, gently feeding foliage through the holes from the inside as you fill the bucket with soil. For tomatoes, let it all hang out; drill a 2-inch hole on the bottom of the bucket so that the plant hangs downward through the hole (upside down). Fill with soil and use the handle to hang from a hook above your porch.
A porch swing or a rope swing tied to a high tree limb offers a simple pleasure of summer for children and adults alike. All it takes is a large hole (or holes) drilled into a sturdy piece of wood and strong rope (or ropes) knotted at the bottom and hung from above.
Even stone can be hollowed out with a drill. Succulents and cacti look particularly at home in stone planters. For easy garden art, try a stone stack. Drill holes through the center of smooth stones and use any length of rebar (bottom few inches buried) as the spine to keep your design straight and tall. Stack stones one on top of another to reach the top and conceal the rebar.
Cautions and considerations
Be sure to ask for advice or research the proper drill bit to use for each material. Drilling metal, stone or glass, for instance, with an improper bit can cause it to heat to red hot in an instant, or worse, cause dangerous sparks.
“Drilling ceramic requires a sharp carbide or diamond drill bit, a slow drill speed and a steady hand,” cautioned Tim Carter, builder/remodeler and host of askthebuilder.com. He also recommends using the bit to create a small point or starting hole in the surface of hard surfaces to guide the bit as you begin to drill, which will help you start off in precisely the right location and prevent the drill bit from hopping around as you begin. Using tape to cover and strengthen the surface of ceramic or glass — and most importantly, he said, a slow speed — helps reduce the chance of cracking delicate or breakable materials.
To keep wood and other natural materials from splitting when you drill a hole or sink a screw, a good rule of thumb is to drill a pilot hole first that is slightly smaller than the screw you’ll be using or the hole you want. While this does create an extra step, replacing a cracked board — or other one-of-a-kind material — will always take longer.
These are just a few examples of how to use your drill — and imagination — to make projects in the garden both easy and fun to accomplish. So go ahead, pull the trigger. Relish the sound and feeling of the pulsing power as you squeeze it, the pull of the bit as it enters, the thin spiral of sawdust that twists out as it enters wood. Punch through plastic. Sink into ceramic. Hollow out a rock or log. Whatever your garden project may be, just drill it!
— Reporter: laurakessinger@gmail.com


Best of the Best of Bend 2025

-
-
-