A bright idea
Published 5:00 am Tuesday, September 24, 2013
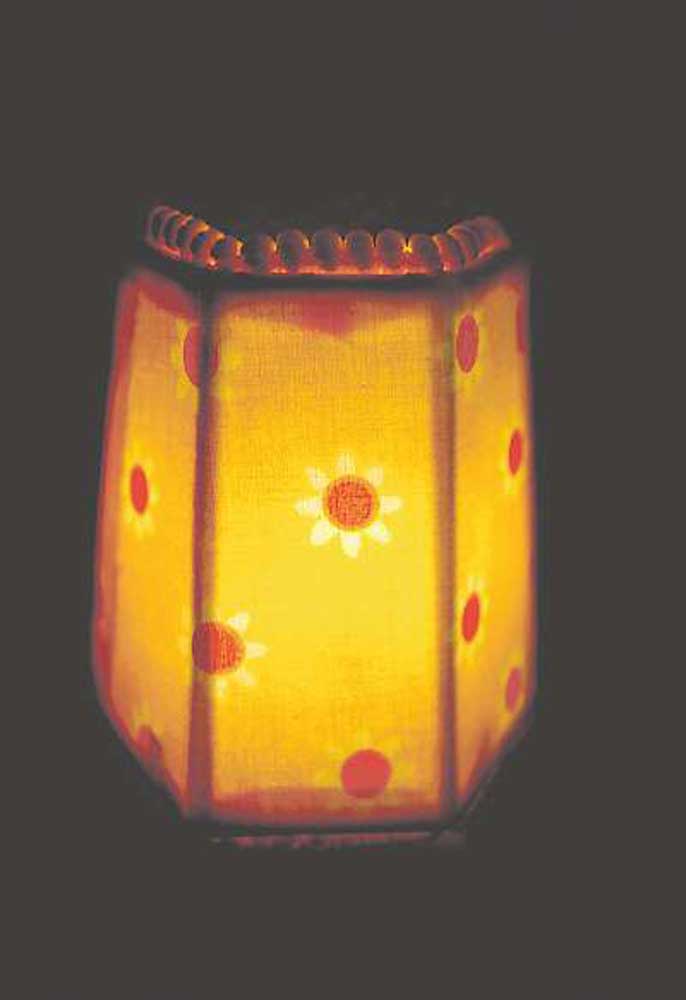
- A night light with a fabric shade. Almost any lamp can be covered, and almost any fabric can be used.
Lampshades looking a little tired and worn? It’s easy to give any room a new look by recovering the shades with a beautiful fabric print. No sewing needed.
Taking shape
Lampshades come in a variety of shapes and sizes, designed for floor lamps, table lamps and hanging pendants.
Common shapes include square, rectangular, bell, coolie and barrel shades. Depending on the shape, there are two methods for recovering. Any shade with shaped or curved sides requires creating separate fabric pieces for each lampshade section; coolie and barrel shapes, as well as any other shape with straight sides, can be covered with a continuous piece of fabric.
Fabric options
Almost any fabric can be used for covering a lampshade — from children’s prints to dramatic silks and novelty weaves. Fabrics can be patterned or solid, but remember not to choose something too dark that will diminish the light output of your lamp. Shop the home decor section at the fabric store for sturdy fabrics, many with applied protective finishes; most garment weight fabrics are lighter weight. If you like a fabric but it doesn’t seem particularly sturdy, bulk it up by adding a fusible interfacing to the underside before cutting.
Getting started
Begin with some large paper, a permanent marking tool, spray adhesive, scissors, clips and some fabric glue. If you want to embellish your shade with braid, ribbon, trim or beads, measure the circumference of the top and/or bottom openings, plus about 3 inches to determine the trim yardage; for shaped shades, braid is often used to cover the corner seams, so measure the height at each corner.
Before you shop for fabric, make the shade pattern to determine the amount needed.
Pattern making
To make a pattern for a shade using a continuous shape, place paper down on the table and set the lampshade on its side against the paper.
Begin at the seam in the shade and mark that position top and bottom on the paper. Roll the shade continuously while tracing the shape onto the paper until you get back to the seam. Smooth out any curves and connect the top and bottom curves. Add 1 inch to the top and bottom of your pattern.
For a coolie shade, the pattern will be an arc shape. For a barrel shade, the pattern will be a rectangle.
If your shade is a shaped square or bell, you need to determine the size and shape of each side. The easiest way to do this is use a product called Press’n Seal, a clear plastic that adheres to itself and other things. Press the plastic over one side of the shade and outline the shape using a permanent marker. (Paper can be used as well for this process.) If all sides are not the same shape, make a pattern for each side. Add 1 inch to the traced shape on all edges.
Cut out the paper pattern and test-fit it to the shade.
Use the pattern to determine how much fabric is needed, keeping in mind that decorator fabrics are usually 54 inches wide and garment fabrics are usually 45 inches wide.
Taking it to fabric
Press the fabric to remove any wrinkles and the center crease line.
For a continuous shape, fold the pattern in half and mark a vertical line. This line should align with the lengthwise design pattern or weave in the fabric, even though the other edges will curve. If you’re trying to showcase a featured motif on the lampshade front, align the drawn line with the center of the patterning. Do not align the seam end of your pattern with the fabric weave, as the front of the shade will be askew.
Cut one piece of fabric for the lampshade cover, or separate pieces for a shaped version.
Covering up
Place the fabric wrong side up on a table top. For a continuous pattern, spray the shade with adhesive. Aligning the front side of the shade (without the seam) with the straight grain of the cut fabric, roll the shade onto the fabric, smoothing out any wrinkles. There should be extra fabric both top and bottom extending beyond the shade. The fabric joining can either be simply butted together or trimmed to 1/2 inch and turned under with an overlap.
Both methods will require additional glue at the joint. Extra fabric glue may be needed to secure the top and bottom edges. Trim the extra fabric at the top and bottom to 1/2 inch. Fold over the extra fabric and glue and clip in place around any lamp wire fittings. If the top and/or bottom edges will have trim, simply cut the fabric even with the shade edges, as the trim will cover it.
For shaped shades, spray the lampshade with adhesive and smooth the fabric in place one side at a time. At the corners, turn under the overlapping edges and glue in place. If the seams will be covered with braid or ribbon, trim off the excess fabric and abut the edges, gluing securely. Turn under the upper and lower edges to the inside of the shade, or trim even with the shade if the edges will be covered with trim.
Trim tactics
When the shade has dried thoroughly, remove any clips holding edges and/or seams. Glue desired trims in place at the lampshade top, bottom or seams, covering any raw fabric edges. Abut trim ends, or turn under the end to finish. Clip in place until the glue dries.
Quick and easy
If you’re not recovering an existing shade but purchasing a new one to personalize instead, look for self-adhesive lampshades. They’re available in many shapes and sizes, including night lights, from Hollywood Lights (www .hollywoodlightscrafts.com).
These shades utilize the product label as the pattern, and the shade is preglued to hold the fabric. It can’t get much easier than that.


Best of the Best of Bend 2025

-
-
-