Crafting with corks
Published 12:00 am Tuesday, November 29, 2016
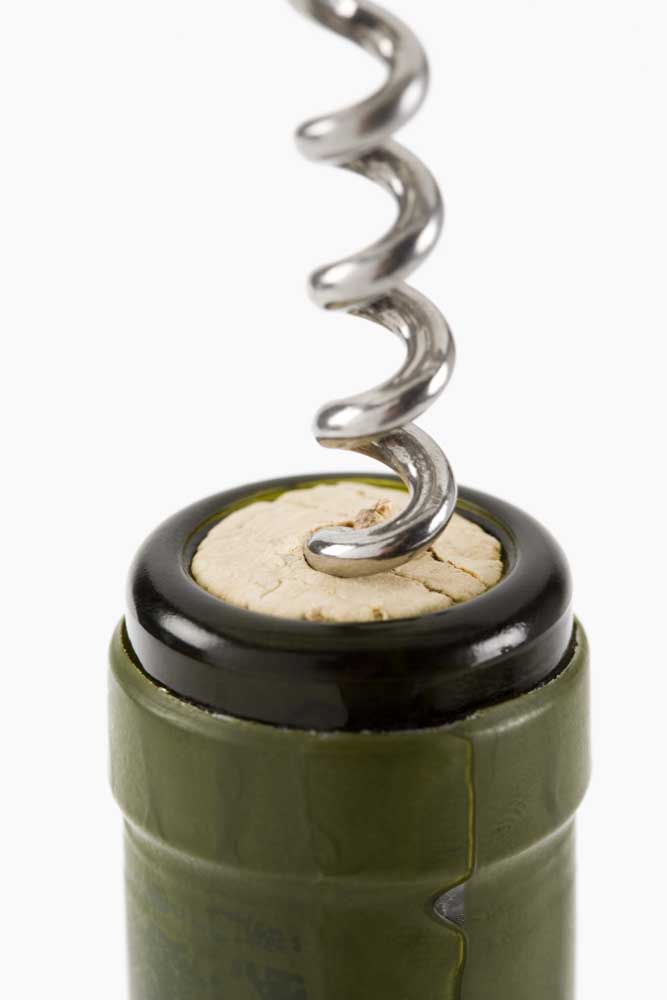
- Finish the bottle? What to do with the cork?Thinkstock
If you need an excuse to drink a little more wine, creating a stash of corks is a great one. Or, if you don’t imbibe enough to support your crafting habit, bags of corks are available at the craft store.
Wine and Champagne corks are great for recycling into coasters and trivets, and it’s so easy, even kids can create professional looking gifts for family and friends. Note: Adult help is needed if corks must be cut for the project.
Cork capers
For many cork crafts, it’s necessary to cut the cork either in half or in slices or rounds, depending on the project.
While you can simply pick up a knife and try to cut the cork, you may have issues with breakage and crumbling, particularly if the cork is very dry.
A much easier way to cut corks is to dampen them first. Place the corks in a steamer and steam for about 10 minutes to soften them. Or, if a steamer isn’t available, cover them with boiling water and simmer for 10 minutes. After moistening, drain the corks and set aside to cool enough for comfortable handling.
Use a serrated knife and hold the cork against a hard, flat surface. Push hard and cut the cork with a sawing motion, cutting all the way to the lower surface to avoid crumbling. If you only cut part way through the cork and snap the rest, a jagged edge can result.
Working on a project that uses cork halves? Be sure to cut evenly through the center so both halves will be of equal depth.
If your project requires cork rounds, mark the preferred depth along the cork length, then slice evenly.
Should your corks have any rough edges, fine sand paper can be used to smooth them.
Try your hand at three easy cork projects.
1. Framed Coaster
What you’ll need (for each):
• Small shadowbox frame
• Hot glue gun and glue
• Corks
• Serrated knife
Making the coaster: Remove the glass and any metal clips from the picture frame. Leave the backing in place.
Fill the frame with the corks, making a pattern as desired.
Apply hot glue to the underside of the corks and adhere them to the frame backing. Corks can be applied in parallel rows, alternating blocks, or randomly, as long as they fit within the frame. Note that a framed coaster can also be made using cork slices.
2. Round Coaster or Trivet
What you’ll need:
• Corks
• Hot glue gun and glue
• Ribbon or trim, 1 inch wide
Making the round: Use the corks standing upright.
Beginning in the center, glue the rounds together along the edges, building out with additional corks until the desired size and shape is reached—from coaster to trivet.
Glue the ribbon or trim around the outer edges of the piece.
3. Square Coaster
What you’ll need (for each):
• Four corks
• Felt
• Hot glue gun and glue
Making the coaster: Cut the corks in half lengthwise.
Arrange the corks on a felt base to the desired size.
Glue the flat side of the corks to the base, then glue a second cork half-parallel to the first.
Alternate direction with the second pair of corks and repeat. Add two more sets in alternating directions to cover the base.
Trim the felt base to match the cork edges.
— Reporter: gwizdesigns@aol.com

Best of the Best of Bend 2025

-
-
-